The Asset Browser
The Project
In this project, I developed a tool for Houdini that loads local assets into the Houdini UI and gives users the ability to browse and place assets from a local directory without having to manually create all the nodes and apply materials. I use Quixel Megascans quite often, so I also added support for them. this was a particular focus since they recently made the move to Fab. The UI was built using PySide2 and seamlessly integrate into Houdini as a custom panel.
The tool was developed over the course of 4 weeks. Feel free to check out the code at GitHub
How it works
The panel is first created through Houdini's Panel Editor. Houdini provides the ability to add custom UIs to its panel system. All we need to do to integrate our own UI is pass the PySide2 panel into their onCreateInterface() method, like this.
Once we have our panel set up, we can add our own logic to the UI. In this case, the main panel in the UI consists of three different parts: the category panel, the assets panel, and the settings panel.
The main panel is responsible for populating the assets and categories through an asset manager, which is also passed into the different subpanels when they are created. It also handles updating the asset manager and subpanels when necessary.
The subpanels, in turn, respond to changes made using properties.
The subpanels, in turn, respond to changes made using properties.
The category panel keeps track of all available categories, the currently active category, and the assets associated with it.
The asset panel manages all UI logic related to displaying assets, determining which asset is created, search functionality, and more.
The settings panel currently serves two purposes: it holds the asset browser root path and provides a button for generating missing thumbnails. The plan is to expand this section further in the future.
Code structure
In terms of the logic for creating the models and materials, it’s quite straightforward. Once an asset is activated, a signal is sent to the main UI, which then creates the necessary nodes using Houdini’s hou package. These nodes are then populated with information such as file paths, shaders, and transforms for the model and textures.
Asset subnet
In this image, you can see how the assets need to be structured. The top folder is the root, which can be the downloaded folder if you're using it with Bridge. Inside that, you'll find the main categories, like "3D" or "Surfaces." Each asset then has its own folder containing an FBX file if it’s a mesh, texture files, and optionally a custom thumbnail or a metadata JSON file.
To make sure the correct textures or thumbnail are assigned, a specific naming convention needs to be followed. For example, the color map should be named "albedo" or include a "_c" suffix. The same idea applies to the other texture maps and the thumbnail.
Folder structure
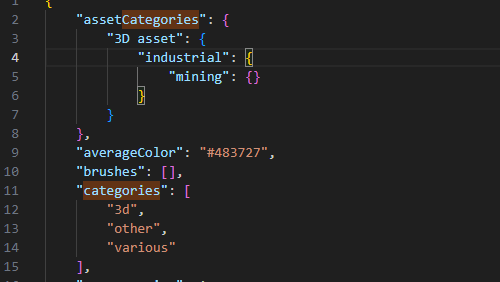
To make the asset browser compatible with Quixel Bridge/Fab, I downloaded some assets and found that many included a JSON file with useful meta data, such as categories and names.
I added a check to detect this file, and if it’s present, the relevant data is used to create subcategory options in the UI. These options are then shown in the categories panel.
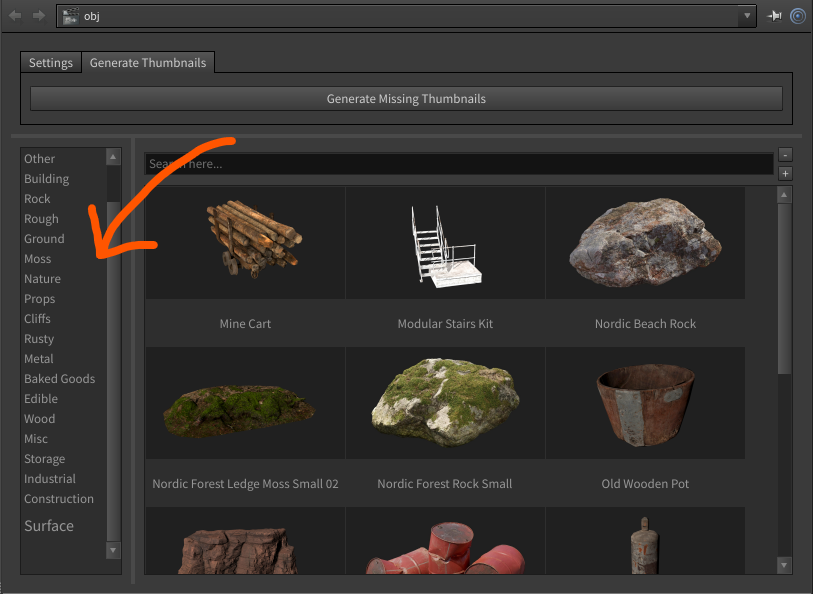
I also added options to generate thumbnails for the assets. Basically, the way it works is that when the user presses the "Generate Thumbnail" button, a camera and some generic lighting are created.
A search is done through all the assets in the asset list to check if there is a thumbnail file in the corresponding asset folder. If no thumbnail is present, a file node is created for the model and materials are applied to it.
The dimensions of the model are measured using a bounding box, which provide the mesh dimensions. With this information, the average size of the object can be calculated. Using that and the camera FOV value, we get the distance the camera has to be in order to capture the full object (most of the time).
average_size = (size.x() + size.y() + size.z()) / 3 distance = (average_size * margin) / math.tan(fov)
A small offset is also applied to capture the object at an angle, a "look at" function is used to set the correct rotation.
The image itself is rendered using OpenGL, which is an efficient node in Houdini for rendering. To avoid certain issues with white or greyish textures, I unfortunately had to add a second render pass for every render. Hopefully, I can find a more optimized solution for this in the future.
The image itself is rendered using OpenGL, which is an efficient node in Houdini for rendering. To avoid certain issues with white or greyish textures, I unfortunately had to add a second render pass for every render. Hopefully, I can find a more optimized solution for this in the future.
Thumbnail generation
To ensure the tool is easy for users to access, the installation process was kept simple. All the user needs to do is unzip the tool into the Documents/Houdini20.5/packages folder. This is a folder that Houdini scans on startup, which will automatically add the panel to the correct path using the information from the associated .json file.
Packaging path
Reflection
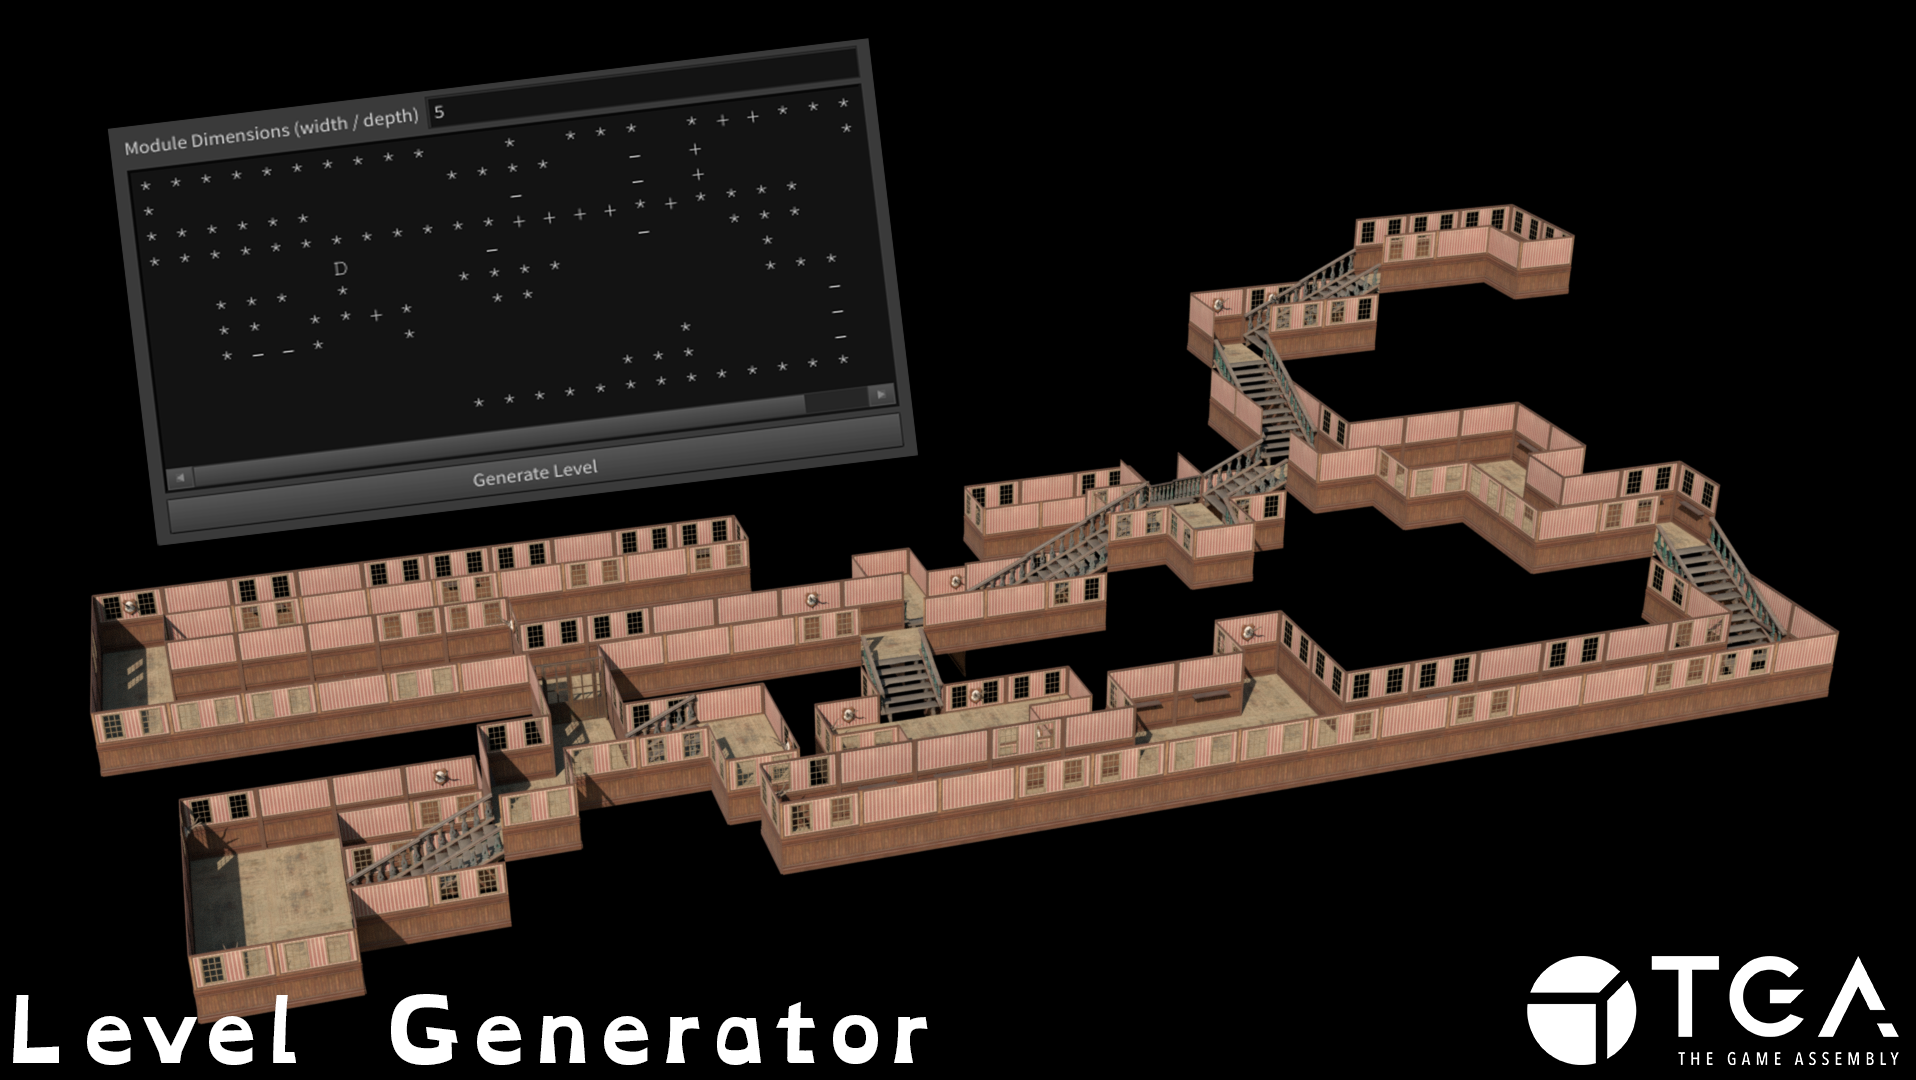
I really enjoyed working on this project. It was one of those projects that felt genuinely helpful to users, and it even helped me save time on my other work. As an example while working on my Level Generator, I downloaded an asset kit where all the assets were named using some sort of reference code with no clear description. If I hadn’t had this tool, I would have had to go through every folder one by one to check what was inside. Instead, I could just scroll through the list and quickly scan for the assets I needed.
Over the course of this project i learned a lot about Houdini UI & got a great refresher on object oriented programming. It was also interesting to receive unexpected feedback from users, I originally thought placing assets with a double-click and switching materials with a single click would be a simple and efficient setup. However, even with a small number of testers, it became clear that this interaction wasn’t very intuitive for users. This experience really highlighted how important it is to test ideas and gather feedback from real users throughout the development process.
